
1
Copy your install code
In the ChilliPopup dashboard open the Install screen, pick Any website and click Copy. Your Workspace ID is already inside the snippet, so there is nothing to edit.
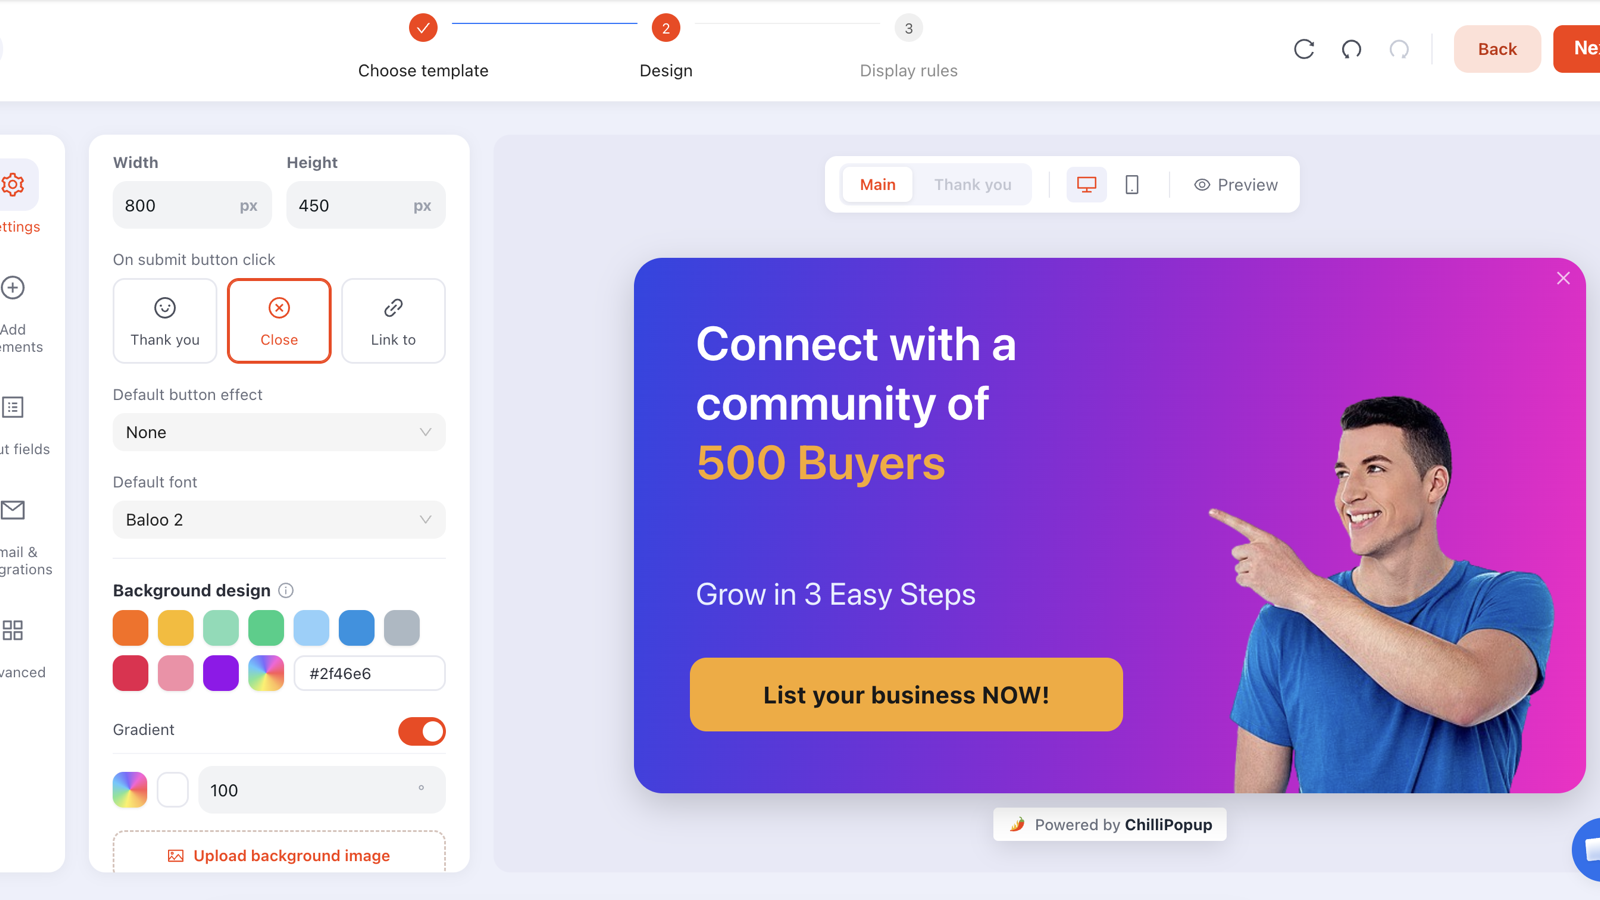
Paste one script tag into Webflow's Site settings and every popup, lead form, survey, quiz and prize game you publish appears on your site, on the pages you choose, without opening the Designer again. Build them in a drag-and-drop editor or let the AI draft them; Webflow keeps doing what it does best.
There is no ChilliPopup app in the Webflow Marketplace, and you do not need one. Webflow lets you add site-wide code from Site settings, and that is the whole install. Full walkthrough with screenshots: how to install ChilliPopup on any website →
In the ChilliPopup dashboard open the Install screen, pick Any website and click Copy. Your Workspace ID is already inside the snippet, so there is nothing to edit.
In Webflow open Site settings → Custom code and paste the tag into the Head code field, then save. Use the site-wide field, not a single page's settings: your campaigns decide which pages they appear on.
Publish your Webflow site so the tag reaches the live HTML. Then set a popup, form, survey, quiz or game to Published in ChilliPopup and open your live URL in a private window to see it.
<script id="chillipopup-pixel"
  src="https://player.chillipopup.com/javascript/pixel.js?id=YOUR_WORKSPACE_ID"
  data-api="https://api.chillipopup.com" async></script>
Two Webflow specifics worth knowing. Custom code is a paid Webflow feature, so a free project cannot publish the tag; make sure the site has a Site plan. And the code only reaches the live page when you publish: saving the setting is not enough, and the Designer preview never runs custom code, so always test on the published webflow.io or custom-domain URL.
Webflow's Designer is excellent at pages. What it does not have is a campaign layer: things that appear on their own, to the right visitor, and report what happened. That is the part ChilliPopup adds, and it all rides on the tag you just installed.
Overlays, banners and slide-ins built from text, images, buttons, inputs, countdown timers and coupon codes. Sixty templates to start from, or a blank canvas.
Explore popups →Email, name, phone and consent capture with validation, shown as a triggered overlay. Submissions are stored with the campaign and counted as conversions.
Explore forms →Multi-step NPS, CSAT and CES surveys with star and thumbs ratings, scored automatically, with per-question results in the dashboard.
Explore surveys →Single- or multiple-choice quizzes and product finders. See exactly which options visitors picked, question by question.
Explore quizzes →Spin the Wheel, Scratch the Card, Slot Machine and Claw Machine. You set the prizes and the odds; the winner is decided on our servers, so nobody can rig it from the browser.
Explore games →Describe the campaign in a sentence and the AI drafts the design; edit it like anything you built by hand. Then one click creates a Variant B, you choose the traffic split, and results show side by side with a confidence indicator.
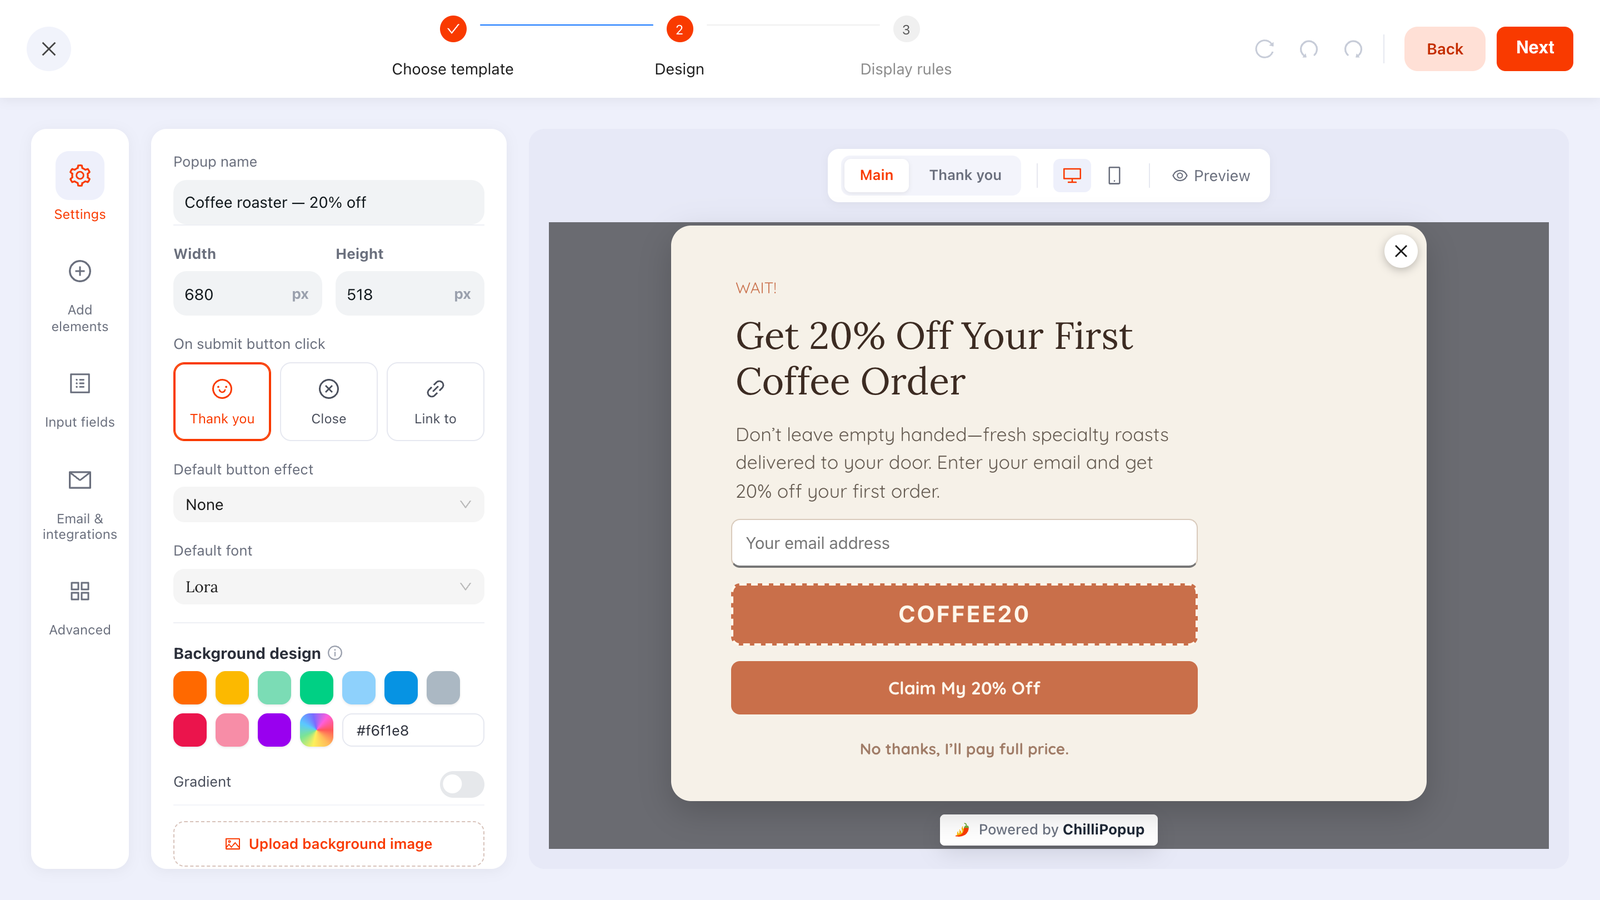
A CMS blog is the easiest place on a Webflow site to ask for an email. Target URL starts with /blog/, trigger at 50% scroll, ask for one email, and name the reward. Every new post in the collection is covered automatically.
For a SaaS or agency site built on Webflow: a one-question survey on the pricing page, fired on exit intent. "What stopped you today?" with four options is the cheapest research a marketing site can run.
On Webflow Ecommerce, target URL starts with /product/, exclude /checkout, and offer a spin wheel or scratch card on exit intent. The play earns the email; the coupon reveals only on a real win.
Webflow designers are rightly protective of their markup. The ChilliPopup pixel is one asynchronous script that renders into the page's own DOM: no iframe, no extra stylesheet on your elements, no symbols or components to maintain, no republish when a campaign changes.
Webflow CMS and Ecommerce generate pages you never listed by hand, and they all share a slug prefix. Page-URL rules use that: one starts with rule covers a whole collection, and you never come back to add the new post or product. Six operators are available: contains, does not contain, is exactly, is not, starts with and ends with.
The complete rulebook: popup targeting rules explained →
| Webflow page | Typical URL | Rule to use |
|---|---|---|
| Homepage only | / | URL is exactly / |
| Every CMS blog post | /blog/<slug> | URL starts with /blog/ |
| Every Ecommerce product | /product/<slug> | URL starts with /product/ |
| One product category | /category/lighting | URL contains /category/lighting |
| Everywhere except checkout | /checkout | URL does not contain /checkout |
| After an order | /order-confirmation | URL contains /order-confirmation |
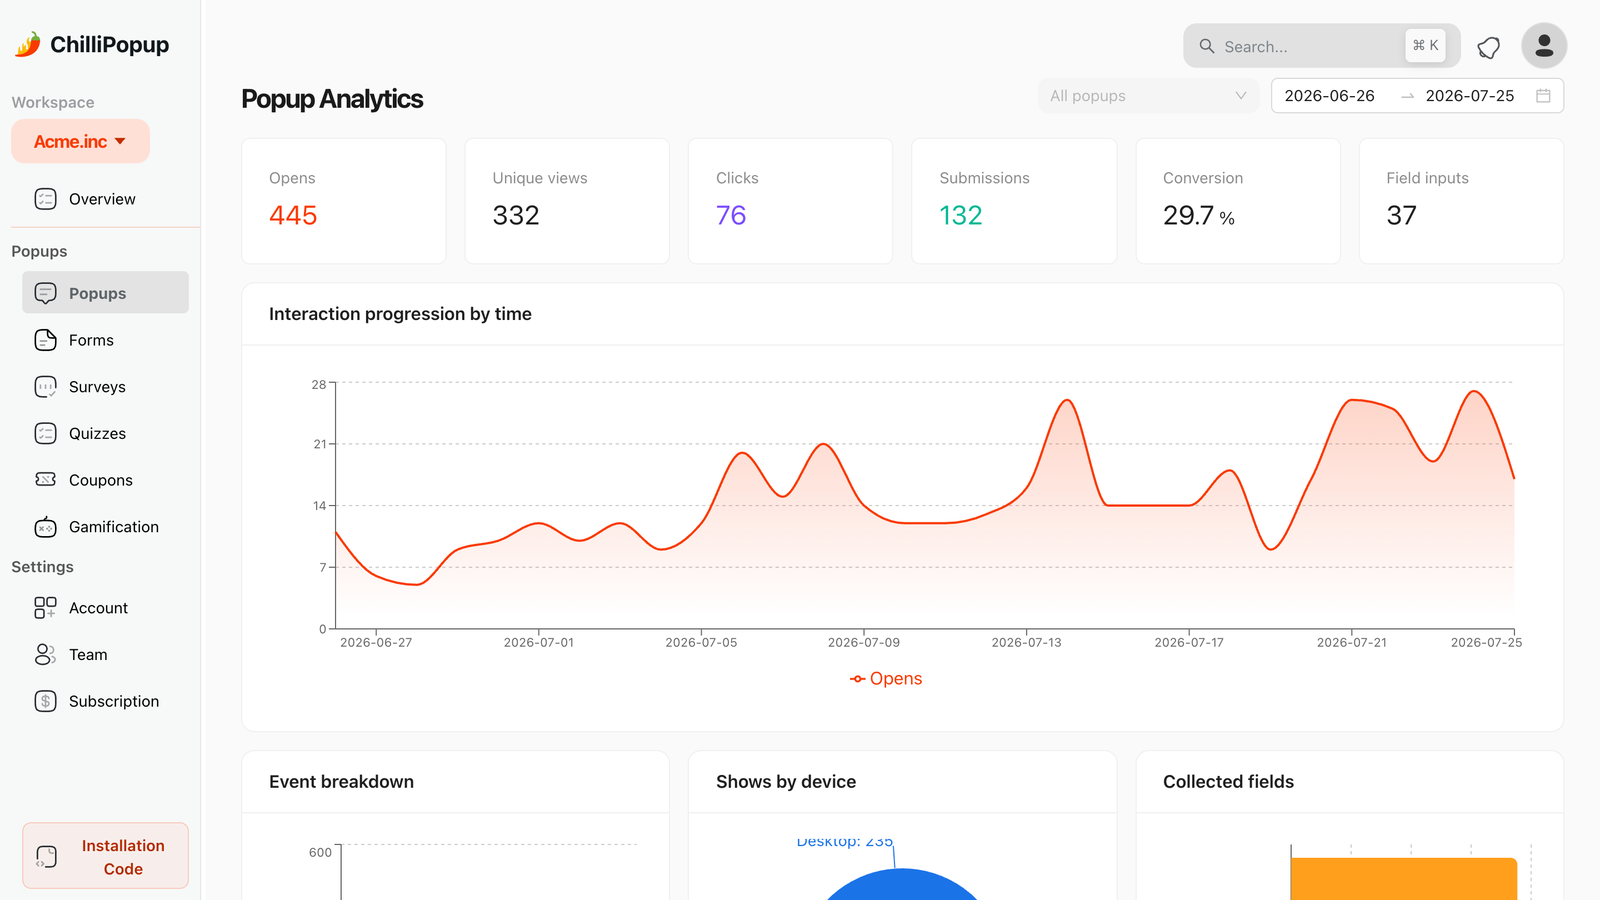
Webflow tells you how a page performs. ChilliPopup tells you how each campaign on that page performs: every view, click, close and submission is counted as it happens and charted over any date range, per campaign and per variant.
Better to know now than after the install. These are the honest boundaries of the product today.
Leads and answers are read in the ChilliPopup dashboard. There is no email or SMS sending, no Mailchimp, Klaviyo or HubSpot integration, no Zapier, webhooks or CSV export yet. If your funnel depends on an automated welcome email, you will need to move addresses by hand today.
Install is the script tag above, which also means it needs a paid Webflow Site plan, since Webflow only publishes custom code on paid sites. ChilliPopup forms do not write into Webflow's native form submissions either; the two live separately.
A small "Powered by ChilliPopup" badge shows on every plan, including Business. If badge-free overlays are a requirement, ChilliPopup is not the right fit right now, and we would rather say so here than on your invoice.
Every plan includes the full editor, all four content types, all four games, AI drafting, A/B testing and analytics. You only pay more as your Webflow traffic grows. The Free plan needs no credit card and never expires; Pro and Business each start with a 14-day free trial.
Free forever, for one Webflow site
For growing sites and small agencies
For high-traffic sites and teams
Running several client sites on Webflow? Pro covers up to 5 domains and Business is unlimited. Compare every plan in detail →
async attribute from a static host, so it never blocks your page from rendering. Overlays are drawn straight into the page rather than inside an iframe, and every network call fails silently so the script can never break your site.The long version of this page: Webflow's native modal vs. a popup tool, CMS targeting by slug prefix, and the seven Webflow-specific problems and their fixes.
Read the guide →Webflow is a landing-page builder first. The one rule (compete or catch), the timings that respect a paid click, and the pattern to avoid.
Read the guide →URL rules, audiences, frequency and schedules, one by one, with the combinations that work on content sites and stores.
Read the guide →For product marketing sites built on Webflow: turning readers into trial users without interrupting the ones already converting.
Read the guide →Turning portfolio traffic into enquiries, and running campaigns across client sites from one workspace.
Read the guide →The help-center walkthrough of the script install, how to verify the pixel is live, and the troubleshooting checklist. See also how to A/B test your popups in the same help center.
Open the help article →The same editor and the same tag work everywhere. Some platforms also get a dedicated installer.
One tag in Site settings, one Webflow publish, and every popup, form, survey, quiz and prize game you build afterwards is live on the pages you choose. Start on the free plan; no credit card required.