On WordPress, you don't need to touch a single line of code to run ChilliPopup. The free ChilliPopup plugin injects the pixel for you — you just paste your Workspace ID and publish. This guide covers the recommended plugin method, plus a manual option if you'd rather add the script yourself.
Key Takeaways
- Use the free plugin. Install ChilliPopup from the WordPress plugin directory — no theme files, no
header.php. - Paste your Workspace ID once. That's the only value the plugin needs to connect your site to your workspace.
- One connection, all content. Every published popup, form, survey and quiz shows automatically after that.
- Prefer code? You can still add the raw script via a headers-and-footers plugin or Google Tag Manager.
Method 1 — The ChilliPopup plugin (recommended)
Four short steps and you're live. This is the no-code path most WordPress users should take.
Install the ChilliPopup plugin
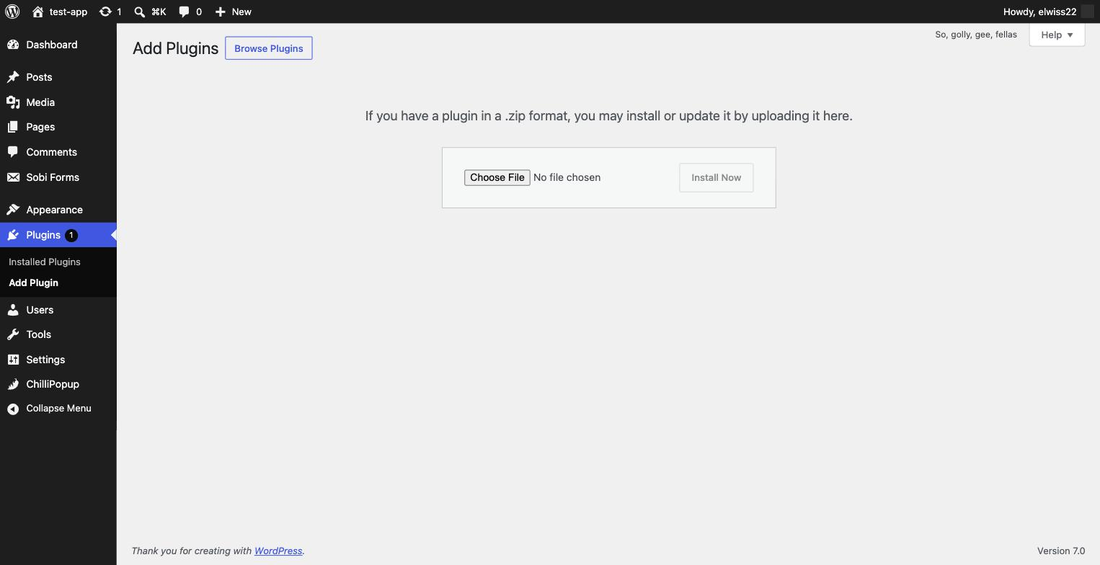
In your WordPress admin, go to Plugins → Add New and search for ChilliPopup. Click Install Now, then Activate. (You can also download it from the ChilliPopup plugin page and upload the ZIP under Plugins → Add New → Upload Plugin, shown below.)
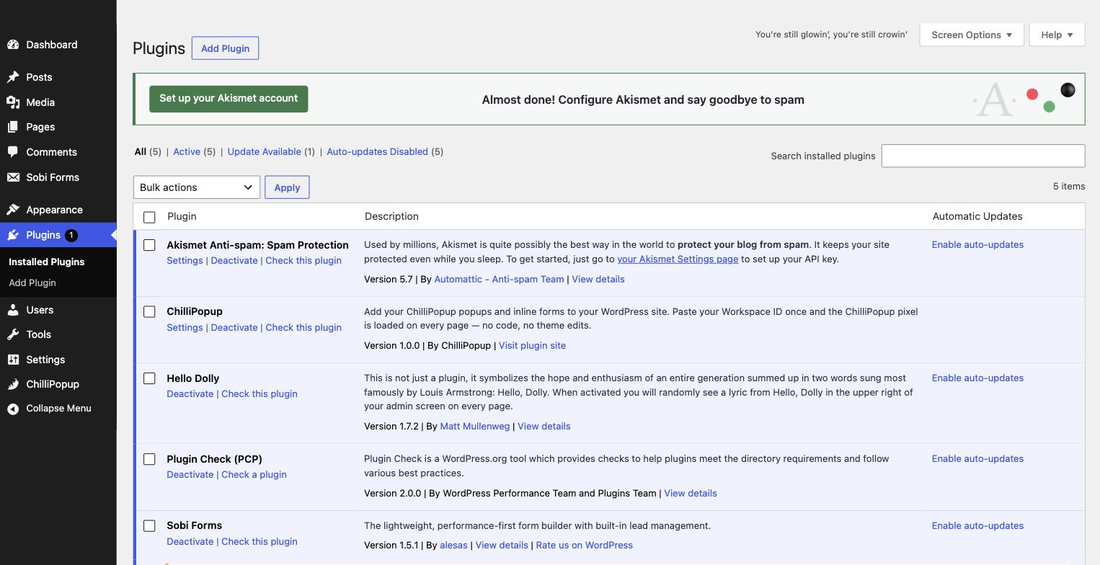
Once it's active, ChilliPopup shows up in your Plugins list:
Copy your Workspace ID
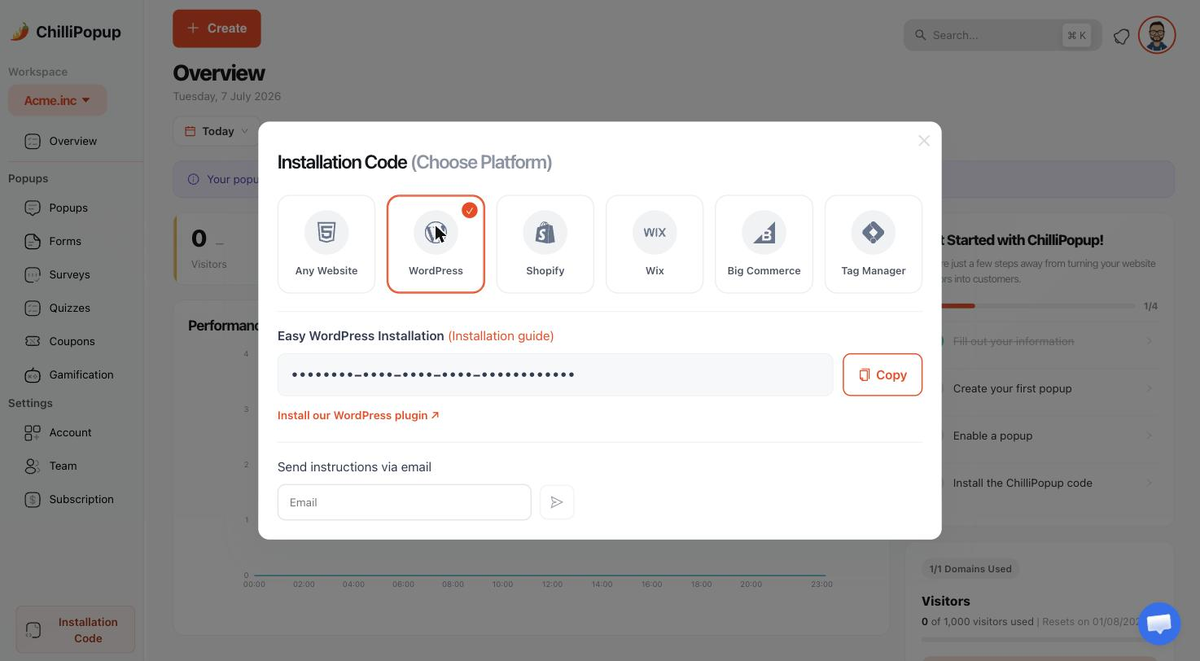
In your ChilliPopup dashboard, open the Install screen and select WordPress. You'll see your Workspace ID with a Copy button — copy it.
Paste the ID into the plugin
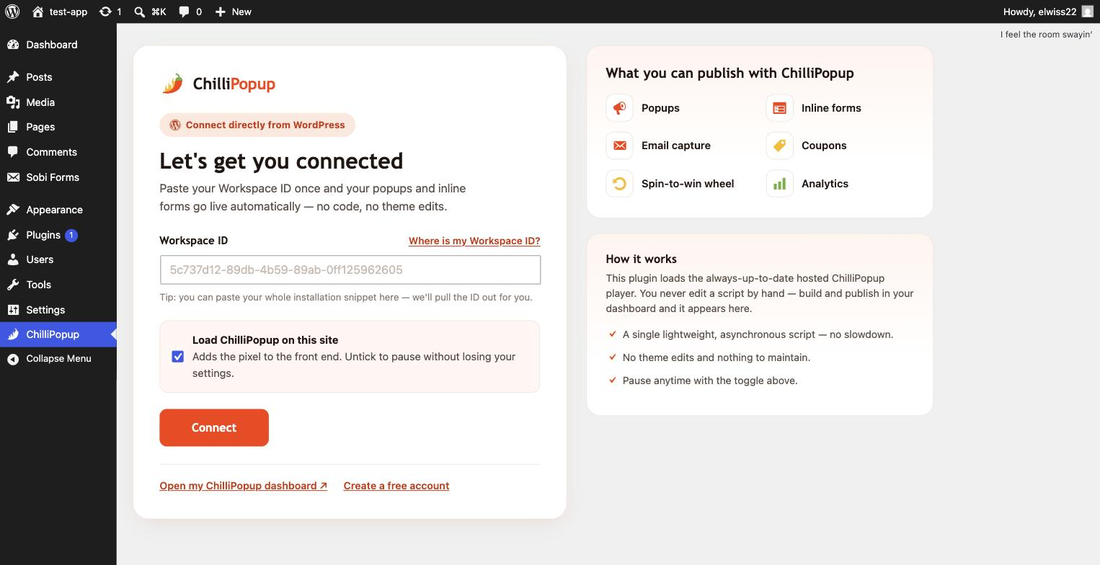
Back in WordPress, open the ChilliPopup settings page (in the admin sidebar or under
Settings). Paste your Workspace ID into the field and click Save. The plugin now injects
the ChilliPopup pixel into the <head> of every page on your site.
Publish your content and verify
In ChilliPopup, set the popup or form you want to show to Published. Reload your WordPress site and confirm it appears. On the Install screen, ChilliPopup shows a green "Installed & live" check once it detects the pixel on your domain.
You're done. Add or edit popups anytime in the ChilliPopup dashboard — the plugin keeps the connection, so new content appears on your WordPress site automatically.
Method 2 — Add the script manually
Prefer to add the code yourself, or already use a tag/header manager? You can paste the standard ChilliPopup snippet instead of using the plugin. Grab it from the dashboard's Install → Any website tab — it looks like this:
<script id="chillipopup-pixel"
  src="https://player.chillipopup.com/javascript/pixel.js?id=YOUR_WORKSPACE_ID"
  data-api="https://api.chillipopup.com"
  async="true"></script>
Two common no-code ways to add it to WordPress:
- A headers & footers plugin — install something like WPCode or Insert Headers and Footers, then paste the snippet into the "Header" / "Scripts in <head>" box and save.
- Google Tag Manager — if GTM is already on your site, add ChilliPopup as a Custom HTML tag. See the Google Tag Manager guide.
Don't add it twice. Use either the plugin or a manual method — not both. Loading the pixel twice can cause a popup to be counted or rendered twice.
Troubleshooting on WordPress
The popup isn't showing
Make sure the popup is Published in ChilliPopup (drafts never serve), the plugin is active with the correct Workspace ID saved, and the popup's display rule has actually triggered.
A caching or optimization plugin is interfering
Aggressive caching, minification or "defer all JavaScript" settings (WP Rocket, W3 Total Cache, LiteSpeed, Autoptimize, etc.) can delay or strip third-party scripts. Clear your cache after installing, and if needed, exclude player.chillipopup.com from JavaScript optimization.
Nothing changed after saving
Purge your WordPress cache and any CDN cache, then reload in an incognito window. If you use a security or ad-blocking browser extension, disable it while testing — it can hide the popup on your machine only.
Related install guides
Frequently asked questions
Is the ChilliPopup WordPress plugin free?
Yes. The ChilliPopup WordPress plugin is free to install from the WordPress plugin directory. It simply connects your site to your ChilliPopup workspace using your Workspace ID — your plan is managed in ChilliPopup, where the free plan covers up to 1,000 visitors a month with no credit card required.
Do I need to edit my theme or any code?
No. The plugin injects the ChilliPopup pixel for you, so you never touch theme files, header.php or functions.php. You only paste your Workspace ID into the plugin's settings page once.
Where do I find my Workspace ID?
In your ChilliPopup dashboard, open the Install screen and choose WordPress. Your Workspace ID is shown there with a Copy button. Paste that value into the plugin settings in WordPress.
Can I install ChilliPopup on WordPress without the plugin?
Yes. You can paste the standard ChilliPopup script into your <head> using a headers-and-footers plugin (like WPCode) or your theme's header settings, or add it through Google Tag Manager. The dedicated plugin is just the easiest, no-code option.
My popup is not showing on WordPress. Why?
Check that the popup is Published in ChilliPopup (drafts are never served), that the plugin is active with the correct Workspace ID saved, and that no caching or optimization plugin is stripping the script. Clear your WordPress and CDN caches, then test in an incognito window.